








Hey there! As a supplier in the transfer printing industry, I've got a lot of experience when it comes to transferring prints on leather. It's a super cool process that can transform plain leather items into unique, eye - catching pieces. In this blog, I'm gonna walk you through the whole process step by step.
Understanding the Basics of Leather Transfer Printing
First things first, let's talk about why transfer printing on leather is so popular. Leather is a high - end material, and adding custom prints can increase its value and appeal. Whether it's for fashion accessories like wallets and belts, or automotive interiors, transfer printing offers a cost - effective way to create detailed and long - lasting designs.


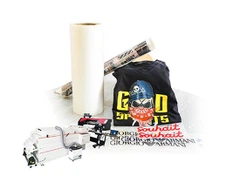
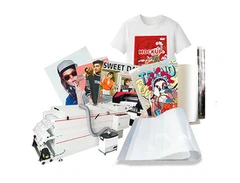
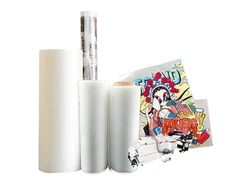
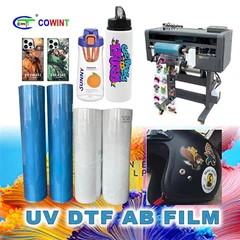
There are different types of transfer films that you can use for leather. One of the most common ones is the Heat Transfer Film. This film uses heat to transfer the print onto the leather surface. It's great for detailed designs and can adhere well to the leather, giving a smooth and professional finish.
Another option is the 3D Transfer Film. As the name suggests, it can create a three - dimensional effect on the leather. This is perfect for making your prints stand out and adding a unique touch to your leather products.
The COLD PEEL DOUBLE MATTE FILM is also a good choice. It's peeled off the leather when it's cold, and it gives a double matte finish, which is very trendy in the fashion industry right now.
Preparing the Leather
Before you start the transfer process, you need to make sure the leather is in good condition. First, clean the leather surface thoroughly. Use a mild leather cleaner and a soft cloth to remove any dirt, dust, or grease. Make sure the leather is completely dry before proceeding.
Next, you might want to do a test print on a small, inconspicuous area of the leather. This will help you see how the transfer film and the leather interact. You can check if the colors are accurate, if the print adheres well, and if there are any issues like discoloration or damage to the leather.
Designing Your Print
Now, let's talk about the design. You can create your own design using graphic design software like Adobe Photoshop or Illustrator. Make sure your design is high - resolution. A low - resolution design will look pixelated when transferred onto the leather.
If you're not good at designing, you can also hire a professional graphic designer or use pre - made designs from online platforms. Just make sure the design is suitable for transfer printing on leather. For example, avoid very thin lines or small details that might not transfer well.
Printing the Design on the Transfer Film
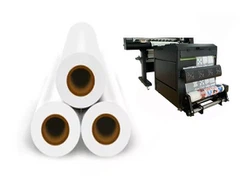
Once you have your design ready, it's time to print it on the transfer film. You'll need a printer that's compatible with the transfer film. Some films require a special inkjet or laser printer.
Follow the printer's instructions carefully. Make sure the film is loaded correctly and the print settings are adjusted for the best results. You might need to do a few test prints to get the colors and quality just right.
Transferring the Print onto the Leather
Now comes the exciting part - transferring the print onto the leather. You'll need a heat press machine for this. Set the heat press to the recommended temperature and pressure for the type of transfer film you're using. Different films have different requirements, so check the manufacturer's instructions.
Place the printed transfer film on the leather with the print side down. Make sure it's positioned correctly. Then, close the heat press and apply pressure for the specified time. This could range from a few seconds to a couple of minutes, depending on the film and the leather type.
After the time is up, carefully open the heat press. If you're using a cold - peel film, let it cool down before peeling off the film. For hot - peel films, you can peel it off immediately.
Finishing Touches
Once the transfer is complete, inspect the print. If there are any small imperfections, you might be able to touch them up with a leather paint pen. Also, apply a leather conditioner to protect the leather and the print. This will help keep the print looking fresh and the leather soft and supple.
Troubleshooting
Sometimes, things don't go as planned. If the print doesn't adhere well to the leather, it could be because the leather was not clean enough or the heat press settings were wrong. Try cleaning the leather again and adjusting the temperature and pressure.
If the colors are off, it could be due to the printer settings or the quality of the ink. Check the printer settings and make sure you're using high - quality ink.
Tips for Success
- Always follow the manufacturer's instructions for the transfer film and the heat press machine.
- Keep your workspace clean and organized. This will help prevent any dirt or debris from getting on the leather or the transfer film.
- Practice on scrap leather before working on your final product. This will help you gain confidence and improve your skills.
Why Choose Our Transfer Printing Services
As a transfer printing supplier, we offer high - quality transfer films and excellent customer support. Our films are designed to work well with different types of leather, and we have a wide range of designs to choose from. Whether you're a small business looking to add custom prints to your leather products or an individual with a DIY project, we've got you covered.
If you're interested in our products and services, we'd love to hear from you. Contact us to start a procurement negotiation, and let's work together to create amazing leather products with beautiful prints!
References
- Leather Crafting and Tooling: A Comprehensive Guide
- Transfer Printing Technology Handbook