


Hey there! If you're in the business of using transfer adhesive, you know how crucial it is to keep your tools in top - notch condition. As a transfer adhesive supplier, I've seen firsthand the importance of proper tool cleaning. It not only extends the life of your tools but also ensures the quality of your transfer projects.
First off, let's talk about why cleaning tools used with transfer adhesive is so essential. Transfer adhesive can be sticky and gooey, and if left on your tools for too long, it can harden. Once it hardens, it becomes a real pain to remove and can also affect the performance of your tools. For example, if the adhesive builds up on a squeegee, it won't be able to spread the transfer material evenly, leading to uneven prints or transfers.
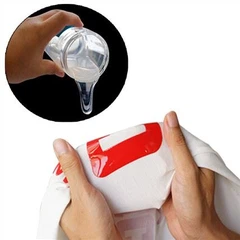
Now, let's get into the actual cleaning process. The first step is to gather your cleaning supplies. You'll need some mild soap, warm water, a soft - bristle brush, and some clean, dry rags. For more stubborn adhesive, you might also want to have some rubbing alcohol or a specialized adhesive remover on hand.
Cleaning Different Tools
Squeegees
Squeegees are one of the most commonly used tools when working with transfer adhesive. To clean a squeegee, start by wiping off any excess adhesive with a dry rag while the adhesive is still wet. Then, soak the squeegee in a bucket of warm, soapy water for about 10 - 15 minutes. This will help loosen the adhesive. After soaking, use the soft - bristle brush to gently scrub the squeegee, paying special attention to the edges where the adhesive tends to accumulate. Rinse the squeegee thoroughly under running water and dry it with a clean rag.
Rollers
Rollers are another vital tool. Similar to squeegees, first, remove as much of the wet adhesive as possible with a dry rag. Then, place the roller in a container filled with warm, soapy water. Let it soak for a bit. You can use the brush to scrub the roller gently, making sure to get into all the nooks and crannies. If there's still some stubborn adhesive, you can dip a corner of the rag in rubbing alcohol and carefully rub the affected areas. Once clean, rinse the roller well and dry it completely.
Applicator Pads
Applicator pads can get quite dirty with transfer adhesive. Start by squeezing out any excess adhesive. Then, give the pad a good rinse under running water to remove most of the surface adhesive. Soak the pad in the soapy water for a while. You can agitate it gently with your hands to dislodge more adhesive. Use the brush to clean the pad carefully, and then rinse and dry it.


When it comes to using cleaning agents, be careful. Some aggressive chemicals can damage the tools, especially if they're made of plastic or rubber. That's why it's best to start with mild soap and water and only use stronger cleaners if necessary.
Using Specialized Cleaning Products
There are various specialized cleaning products available in the market for cleaning tools used with transfer adhesive. These products are designed to break down the adhesive quickly and effectively. However, before using any new product, it's a good idea to test it on a small, inconspicuous part of the tool to make sure it doesn't cause any damage.
Storage After Cleaning
Once your tools are clean and dry, proper storage is also important. Store your tools in a clean, dry place. You can use a toolbox or a pegboard to keep them organized. This not only protects the tools from dust and dirt but also makes them easy to find when you need them again.
The Connection to Our Products
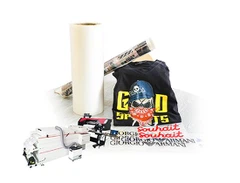
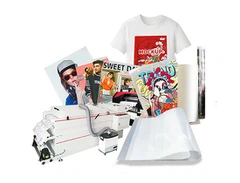
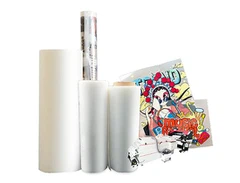
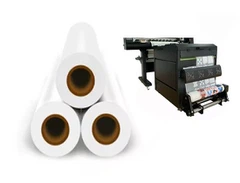
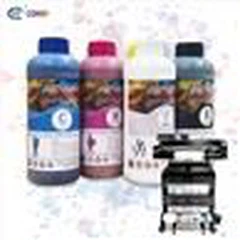
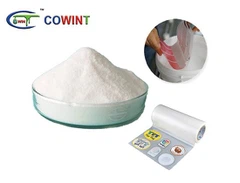
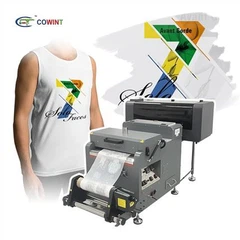
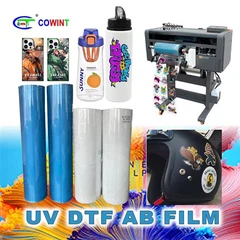
As a transfer adhesive supplier, we offer a wide range of products that pair well with these cleaning - up tools. Our OEM 3D Transfer is a top - of - the - line option for those looking for high - quality 3D transfer solutions. The Digital Transfer Printing Film /PET Roll Film is perfect for digital transfer applications, and the Hot Peel Double Matte DTF Film offers an excellent finish for various projects.
If you're using our products, you'll want to make sure your tools are always clean to get the best results. A dirty tool can lead to a lot of problems, such as uneven application, air bubbles, or poor adhesion. So, by following these cleaning tips, you'll not only make your tools last longer but also enhance the quality of your work with our transfer adhesive products.
Maintenance Schedule
To keep your tools in great shape, it's a good idea to have a regular maintenance schedule. After each use, do a quick wipe - down to remove as much adhesive as possible. At the end of the week or month, depending on how often you use the tools, give them a more thorough cleaning. This routine will save you a lot of hassle in the long run and keep your tools in perfect working condition.
Troubleshooting
Sometimes, you might encounter some challenges during the cleaning process. For example, if the adhesive has hardened too much and won't come off with soap and water or rubbing alcohol, you can try soaking the tool in a solution of one part vinegar and three parts water for a few hours. This natural solution can often break down stubborn adhesives.
If you notice that the cleaning process is damaging the tool, stop immediately. It could be that the cleaning agent is too strong or the scrubbing is too aggressive. In such cases, you might want to consult an expert or the manufacturer of the tool for advice.
Conclusion
Cleaning tools used with transfer adhesive is an important part of your work routine. By following these simple steps and tips, you can keep your tools clean, functional, and in good condition for a long time. Whether you're a small - scale crafter or a large - scale manufacturer, proper tool maintenance will pay off in terms of better results and cost savings.
If you're interested in purchasing our high - quality transfer adhesive products, I encourage you to contact us for procurement and negotiation. We're always happy to discuss your needs and how our products can fit into your projects.
References
- General knowledge from years in the transfer adhesive supply business
- Industry best - practices for tool cleaning.